It’s about time we hit on my favorite pie crust recipe, and just in time for pie season. I’m going to be sharing some of my favorite pies in the next few weeks as well, but today we’re going to the basics with a great crust that works for all your holiday pies!
My pie crust recipe is a bit non-traditional, but I think it works really really well for home-baking. Let’s get to it!
How to Make High-Altitude Pie Crust
We’re starting out by tossing together our dry ingredients in a large bowl- in this case we’re working with all-purpose flour, sugar, and salt. A lot of people don’t put sugar in their pie crust, but I think it tastes better and it helps with even browning.
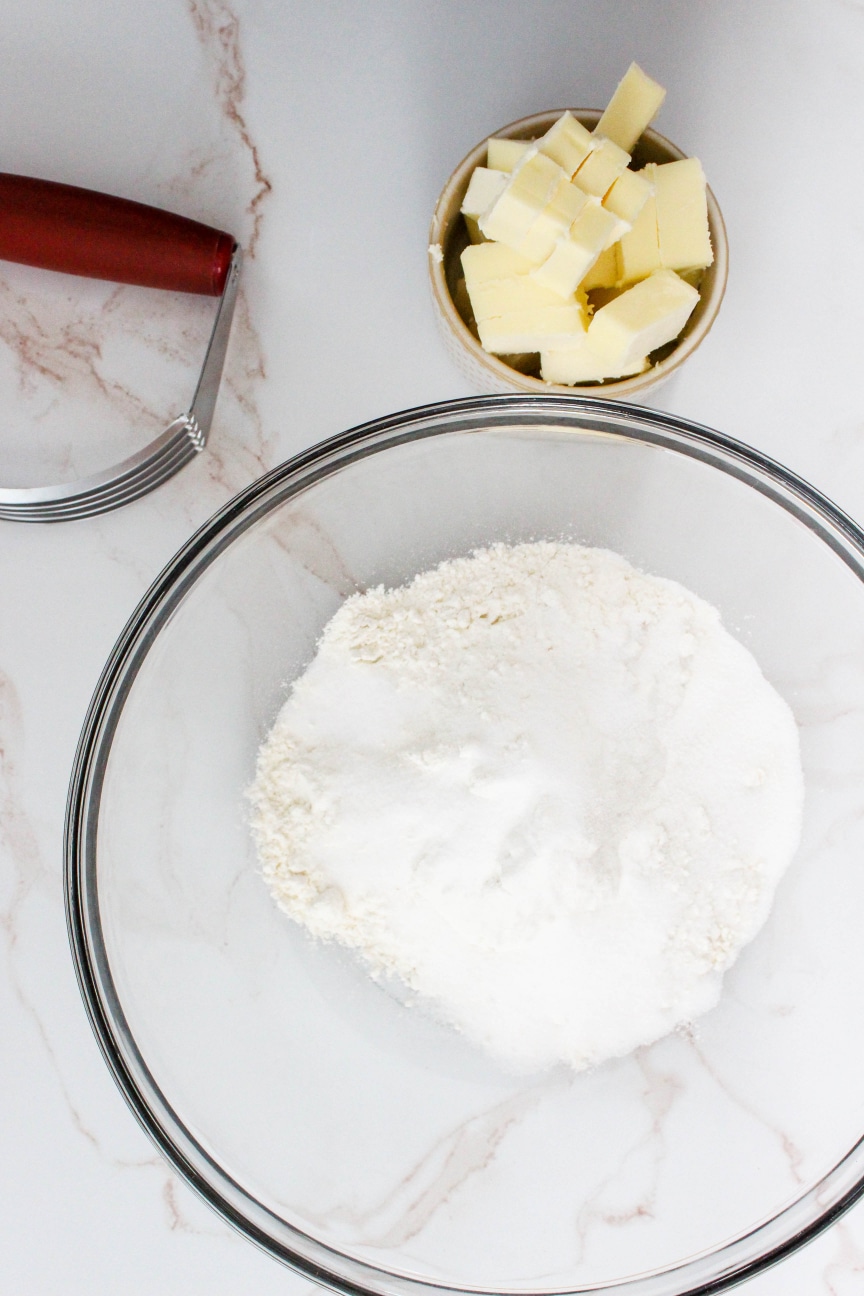
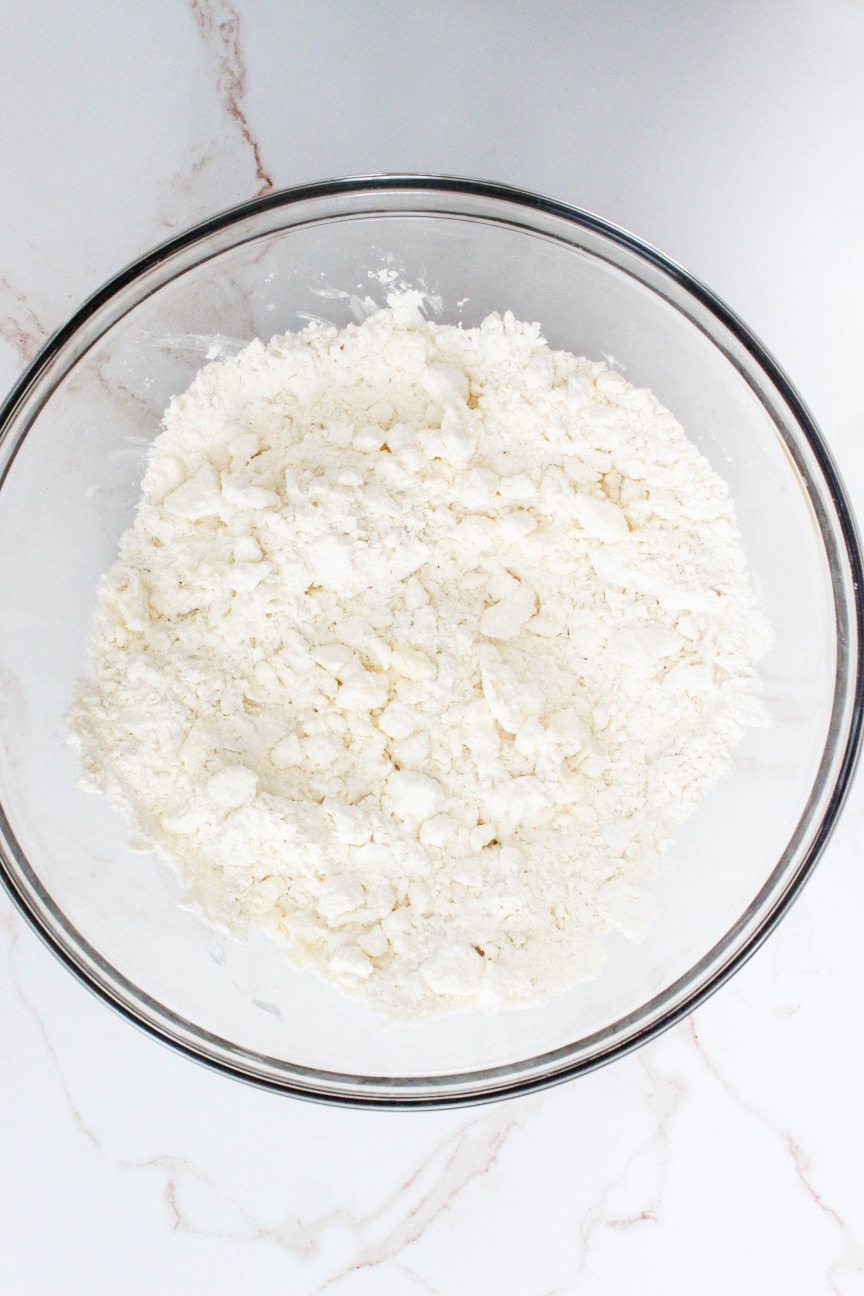
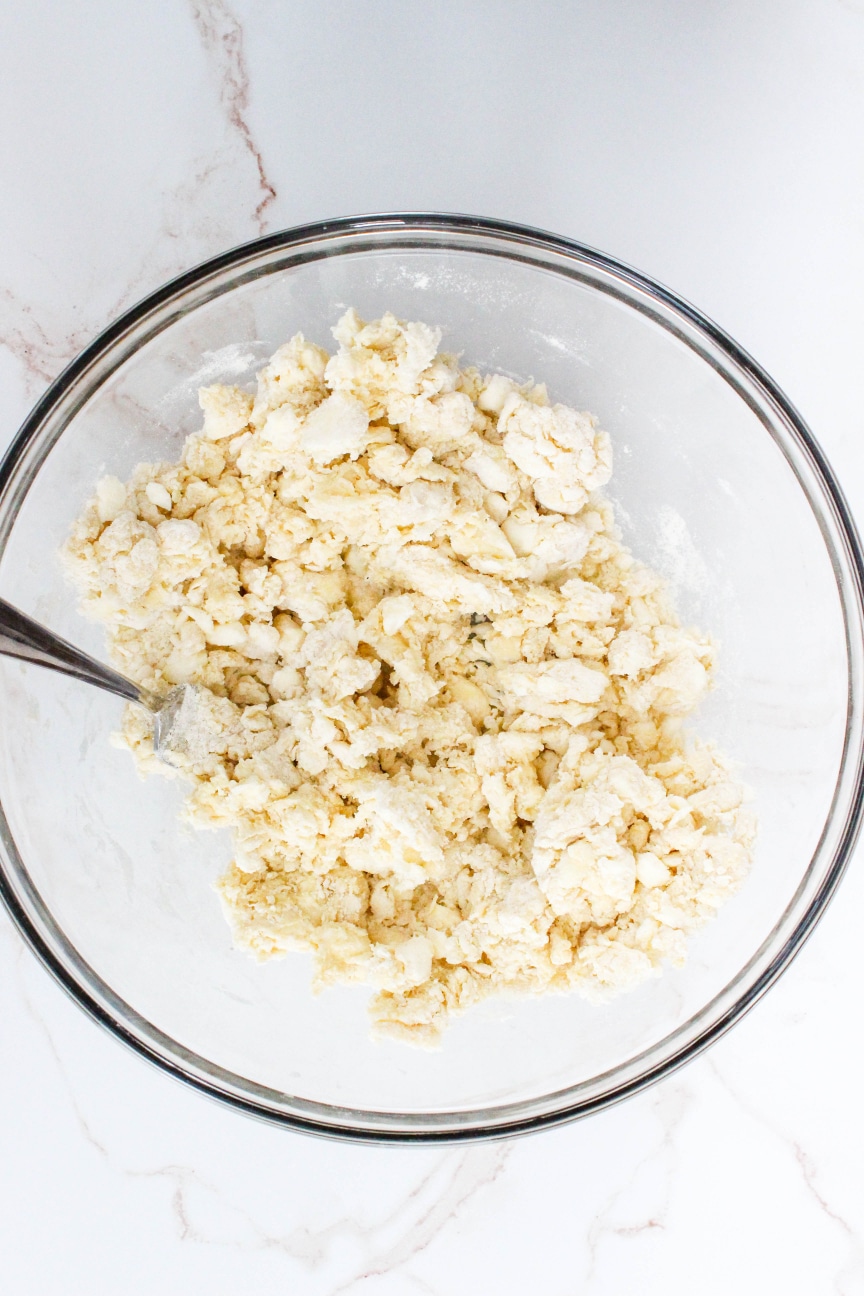
It’s time to get the butter ready. You want to work quickly so that your butter stays super cold- straight from the fridge you can quickly cut the butter into small chunks. They don’t have to be a perfect size, just about 1/2 tbs. in size (ish). Then we’re taking either a pastry cutter if you have one, or just clean hands, and smashing the butter into the dry ingredients until it looks crumbly, with chunks of butter running throughout. It should look like this:
Now, again with all your ingredients as cold as possible, we’re going to work in the dry ingredients. We’re using egg, vanilla extract, and a little bit of water. The egg and vanilla extract both add to flavor, but they also help to make the dough much more workable and tender, which I really appreciate when rolling out a dough.
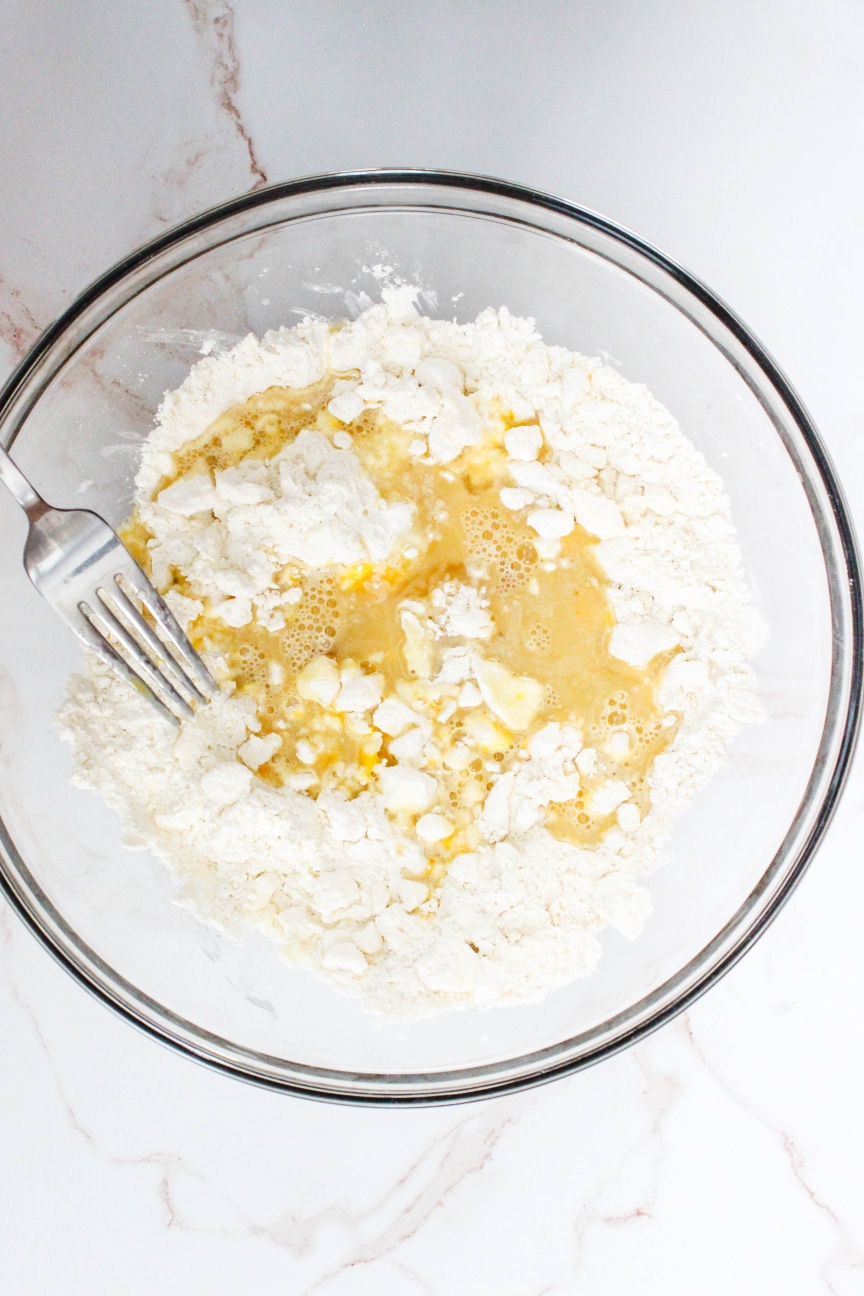
Use a fork to work in the wet ingredients in the bowl. Then, use your hands to gently press it together. You may have some dry pockets that don’t quite work into the dough- you can add just a small splash more water to those bits to help them come together. Then turn the dough out onto a lightly floured surface.
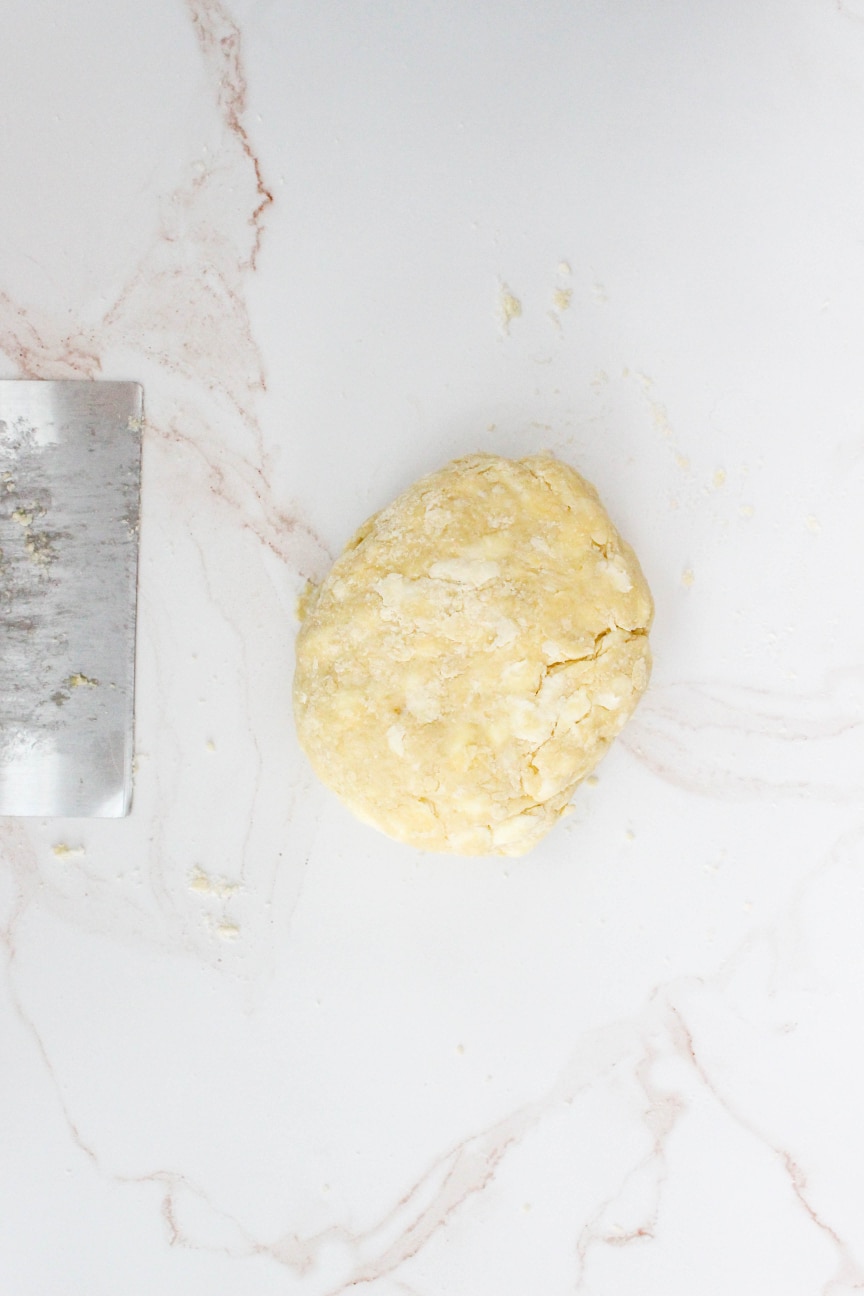
The next step is to pat and fold the dough a few times. Just gently press the dough together, and pat it into a rectangle that is about 8-10 inches long. Use a bench scrapper to then fold the dough in half on top of itself. We want to repeat this process 3-4 times, and as you continue, you’ll notice the dough start to come together more. Once you’re done, it should look like this:
Then it’s off to the fridge to chill for at least an hour to let the butter harden again. When you’re ready to roll, use a generously floured surface- you can dust off any excess flour before baking, but you really don’t want the dough to stick to your surface so don’t be afraid of the flour!
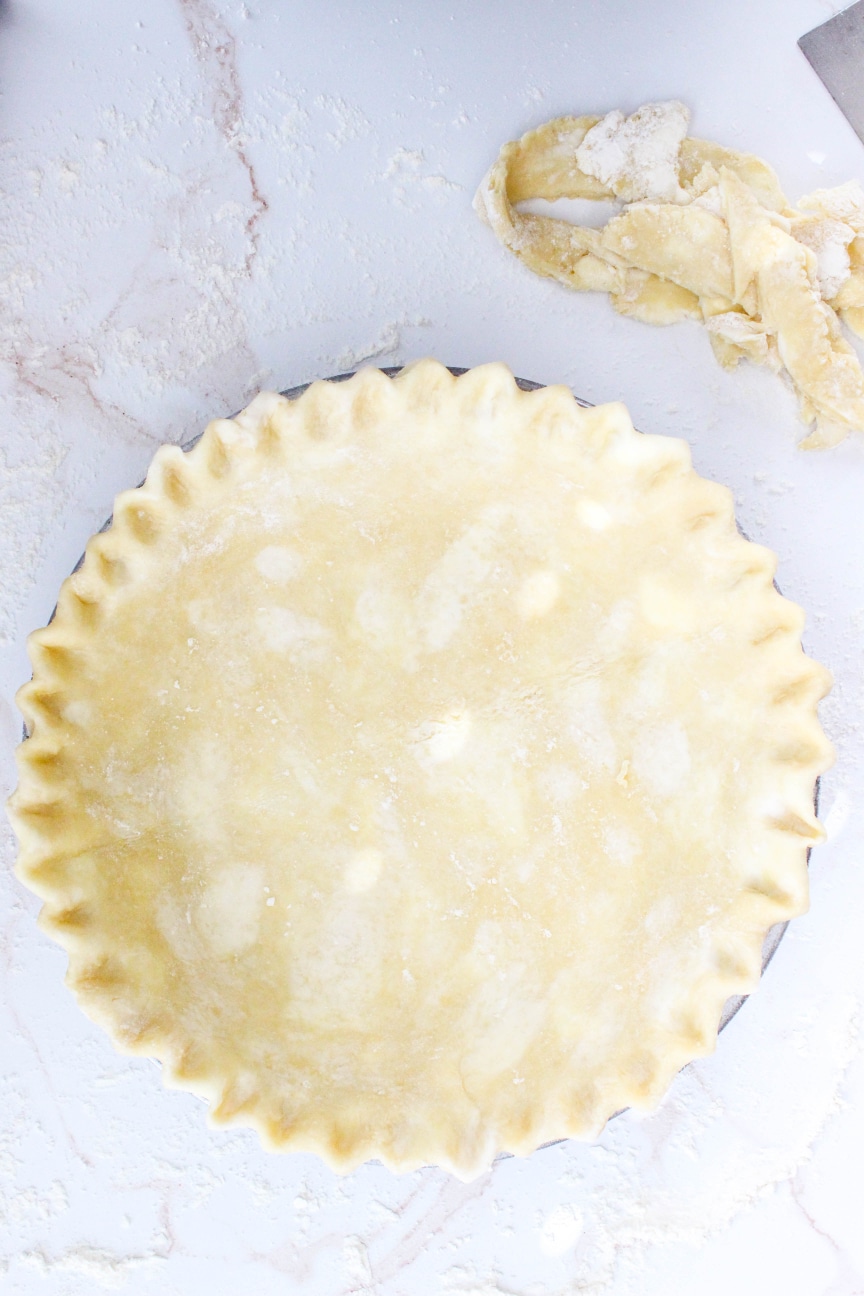
Then you can simple transfer it to your pie plate, and crimp the dough any way you’d like! I like this recipe because it’s not too hard to roll out, even after chilling, plus it makes a big enough batch to fill even a large deep-dish pie plate. Once the dough is all pretty in your pan, I recommend popping the whole thing in the freezer for 30 minutes before baking. This helps everything stay in place, and stay flakey!
Tips & Tricks for High-Altitude Pie Crust
Here’s my tips to make sure you end up with the perfect crust every time!
- Keep all your ingredients as cold as possible and work as quickly as you can. Don’t be afraid to stop and pop your bowl in the fridge for 10 minutes if you need to- it’s really important to keep that butter cold!
- Don’t over-do it with the water. You want the dough to come together, but it will be a little crumbly at first before you fold and knead it gently. Too much water will make the dough tough.
- Don’t skip the folding process as this really helps contribute to a flakey dough in the end. Plus, it helps bring the dough together without over-working it.
- Freeze your dough before baking to make sure it stays in place, and everything is perfectly cold before hitting a hot oven.
- Can I par-bake this crust? Yes! After freezing your dough, line it with foil and use the pie weights of your choice all the way up to the top of the crust. Bake at 425 degrees for 15 minutes. Remove the foil and pie weights, and then you’re ready to fill the crust and finish baking.
- Can I blind-bake this crust? Yes! After freezing your dough, line it with foil and use the pie weights of your choice all the way up to the top of the crust. Bake at 425 degrees for 15 minutes. Remove the pie weights and foil, and return the crust to the oven for another 12-15 minutes, or until its golden brown all over. Cool and fill!
Enjoy!

High-Altitude Pie Crust
Ingredients
- 1 3/4 cups flour
- 3 tbs sugar
- 1/2 tsp. salt
- 3/4 cup very cold butter
- 1 egg
- 2-3 tbs cold water
- 1 tsp. vanilla extract
Instructions
-
In a large bowl, stir together the flour, sugar, and salt until combined. Using a pastry cutter or clean hands, cut the butter into the flour mixture until it’s worked in, and the mixture has small chunks of butter running throughout. In a small bowl, stir together the egg, 2 tablespoons cold water, and vanilla extract until combined. Pour the wet mixture into the flour mixture, and use a fork to stir it together until a dough forms. Once you have a shaggy dough, turn it out onto your work surface. If there are any pockets of dry ingredients, sprinkle a little more cold water to help the dough come together. Gently knead the dough until it comes together in a large mass. It will still be a big shaggy.
-
Lightly flour your work surface, and roll the dough out into a long rectangle, about 15-18 inches long. Fold the dough into thirds, turn 90 degrees, and repeat the process two more times. By the time you reach the third fold, your dough should be much more cohesive. Wrap the dough tightly in plastic wrap, and chill for at least 30 minutes before rolling it out to bake.
-
To par-bake your crust: Roll out your chilled dough into a large circle that is about 1/8-1/4 inch thick. This is a generous amount of dough, so it will be enough for an 8-inch, 9-inch, and most deep-dish pie plates. Transfer your dough to the pie plate, and trim the edges, leaving about 1 inch of over-hang. Tuck the over-hang underneath itself, and crimp your crust however you prefer. Place the whole pie plate into the freezer for 20-30 minutes. Meanwhile, preheat your oven to 425 degrees. Remove the pie crust from the freezer, and line the crust tightly with foil. Fill the crust with pie weights all the way to the top of the crust. Bake for 15-20 minutes, or until the foil pulls away from the crust easily. Proceed with your recipe!
-
To blind bake your crust: Follow the same instructions as par-baking, but after 15-20 minutes, remove the foil with the pie weights, and return the crust to the oven for an additional 12-15 minutes, or until the crust has become golden brown!

Hello and welcome! My name is Nicole, and Dough-eyed is a food blog for people who want to bake for their family and friends in high-altitude areas. Think of me as a friendly voice there with you in the kitchen, here to give you confidence when you’re baking, and to help you with the struggles of baking at high-altitude. Come back every week for new recipes, tips, and advice on high-altitude baking!


I’ve become spoiled by my food processor. Can this crust be put together by processor rather than by hand?
BTW, I’m so glad you’re coming to talk at Douglas County Libraries later this month. Finding your high-altitude white bread recipe was a game-changer for me last winter and I’ve been bragging about it ever since. It’ll be great to meet you!
Hi there! Thank you for coming to the library event!! You can make this crust in the food processor, but because you'll end up with smaller butter chunks, you may find that it is slightly less flakey. It should still be lovely though!
I'm giving the pie crust a try tomorrow for an apple, pear tart, hand pie or dumpling. Not sure which because I'm trying to use up fruit. Not sure how much filling I'll have.
Which library and when will you be presenting?
Hi there! So sorry I missed you before the Douglas County Library event last weekend! But I hope you loved the crust recipe!
Do you think I could make this the day before, cover it and refrigerate it until I’m ready to bake?
Hi there- yes you can shape the dough into your pie plate and cover with plastic to chill in the fridge or even the freezer before baking!
other than blind bake and par bake, how long and what temp do you cook the pie at?? doesn't say!
Hi Kay- Other than blind and par baking, you'll need to follow the recipe of whatever actual pie recipe you are using. This is just for the crust, and all pies bake at different temps and lengths based on the filling!
will this recipe be enough crust for a 9.5” pie pan? and will your pumpkin pie recipe also but enough for a 9.5” pie pan?
The pie crust is perfect for a larger pie plate for sure. The pumpkin pie should be about right, but it won't look quite as full as what I've got shown here.
Does this recipe make for a double crust pie, or do I need to double the recipe?
What would you recommend as a good egg substitute for this recipe? Would applesauce work well as a binder for this type of crust? Thanks!!